Copycat Raising Cane’s Sauce Recipe
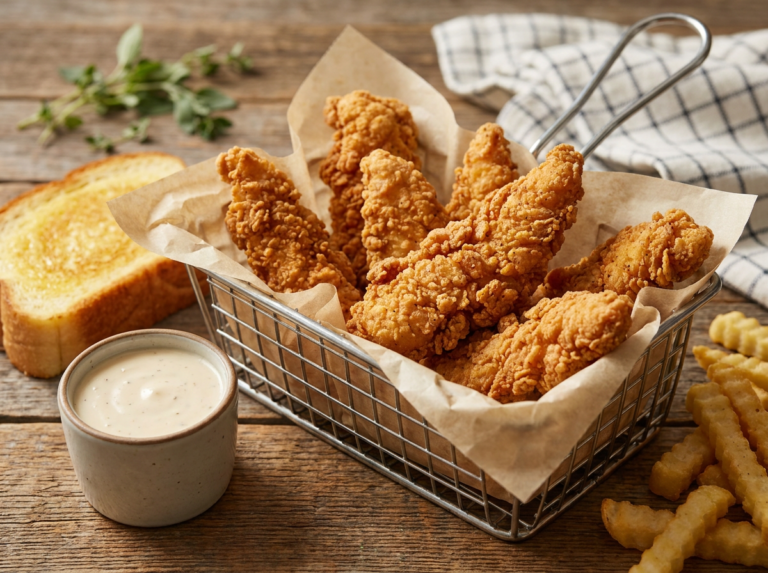
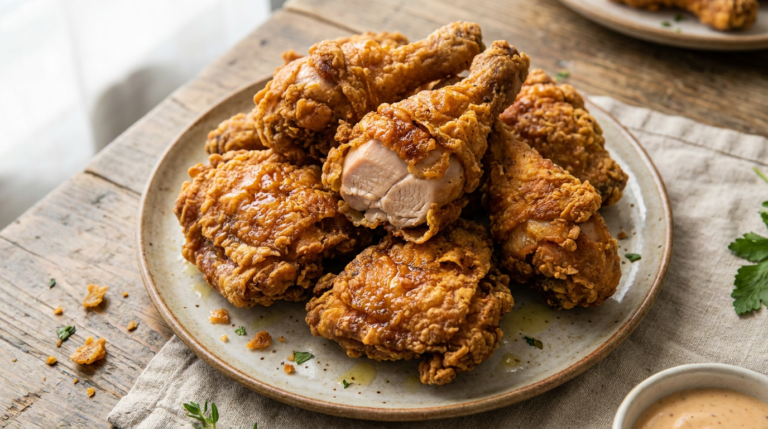
This copycat Raising Cane’s sauce recipe brings the iconic chicken finger dipping sauce right into your kitchen, and I’m thrilled to share every secret with you! While a single Cane’s sauce cup costs about 39 cents at the restaurant (and they charge for extras), you can make an entire batch at home for just a few dollars that tastes exactly like the original. In this comprehensive guide, I’ll walk you through every ingredient, every technique, and every tip I’ve learned from making this addictive sauce dozens of times until I perfected it.
Why You’ll Love This Recipe
I’ve been obsessed with Raising Cane’s sauce since my first visit to their restaurant years ago, and let me tell you, perfecting this homemade Cane’s sauce has been one of my most rewarding copycat recipe projects. The taste is spot-on—that perfect balance of tangy, slightly sweet, and creamy with just a hint of garlic and pepper that makes it absolutely irresistible. When I serve this at parties alongside chicken tenders, people literally cannot tell the difference from the restaurant version, and I’ve had friends beg me for the recipe after just one taste. The texture is silky smooth, the flavor is complex yet approachable, and it has that signature pink-ish hue that makes it instantly recognizable.
The cost savings with this recipe are genuinely impressive when you break down the numbers. A single batch of this sauce costs me approximately three to four dollars to make, and it yields about two cups of sauce—that’s equivalent to roughly sixteen of those little Cane’s sauce cups you get at the restaurant. If you were to purchase sixteen extra sauce cups at 39 cents each (and many locations charge even more), you’d spend over six dollars, plus you’d have to make a trip to the restaurant. Making this cane’s sauce recipe at home means you always have it on hand, you can make as much as you want, and you’ll save serious money if you’re a family that goes through sauce quickly like mine does.
What I absolutely love about this copycat version is how it compares to the restaurant original in ways that actually make it better for home cooking. The restaurant sauce is fantastic, but it’s served cold and in small portions that never seem like quite enough. When you make this at home, you control everything—the consistency, the spice level, the garlic intensity, and most importantly, the quantity. I’ve found that the homemade version actually tastes fresher because you’re using quality mayonnaise and ingredients you select yourself, rather than whatever industrial-scale ingredients the restaurant chain uses. The flavor develops beautifully if you let it sit in the fridge for even just an hour, and after a day, it tastes even more like the original as all those flavors meld together.
The customization freedom with this recipe is another huge advantage that keeps me making it again and again. While the classic version is perfect as-is, I’ve experimented with adding extra garlic for my garlic-loving friends, increasing the black pepper for those who like more bite, and even creating a spicier version with cayenne that my husband prefers. You can adjust the sweetness, make it tangier with extra Worcestershire sauce, or thin it out slightly if you prefer a more pourable consistency. This flexibility means everyone in your household can have their perfect version of this beloved chicken finger sauce, and you’ll never have to worry about running out at an inconvenient moment.
Finally, the ease of making this sauce is almost laughable—it’s genuinely one of the simplest recipes I make regularly, yet it delivers restaurant-quality results every single time. There’s no cooking involved, no complicated techniques, and you don’t need any special equipment beyond a bowl and a whisk. I can whip up a batch in less than five minutes, and that includes the time it takes to pull all the ingredients from my pantry and fridge. It’s the kind of recipe that makes you feel like a culinary genius when people rave about it, even though you know how incredibly easy it actually was to make. Similar to my favorite Panera mac and cheese copycat, this sauce proves that restaurant favorites are often much simpler to recreate than you’d think.
What You’ll Need
The Creamy Base
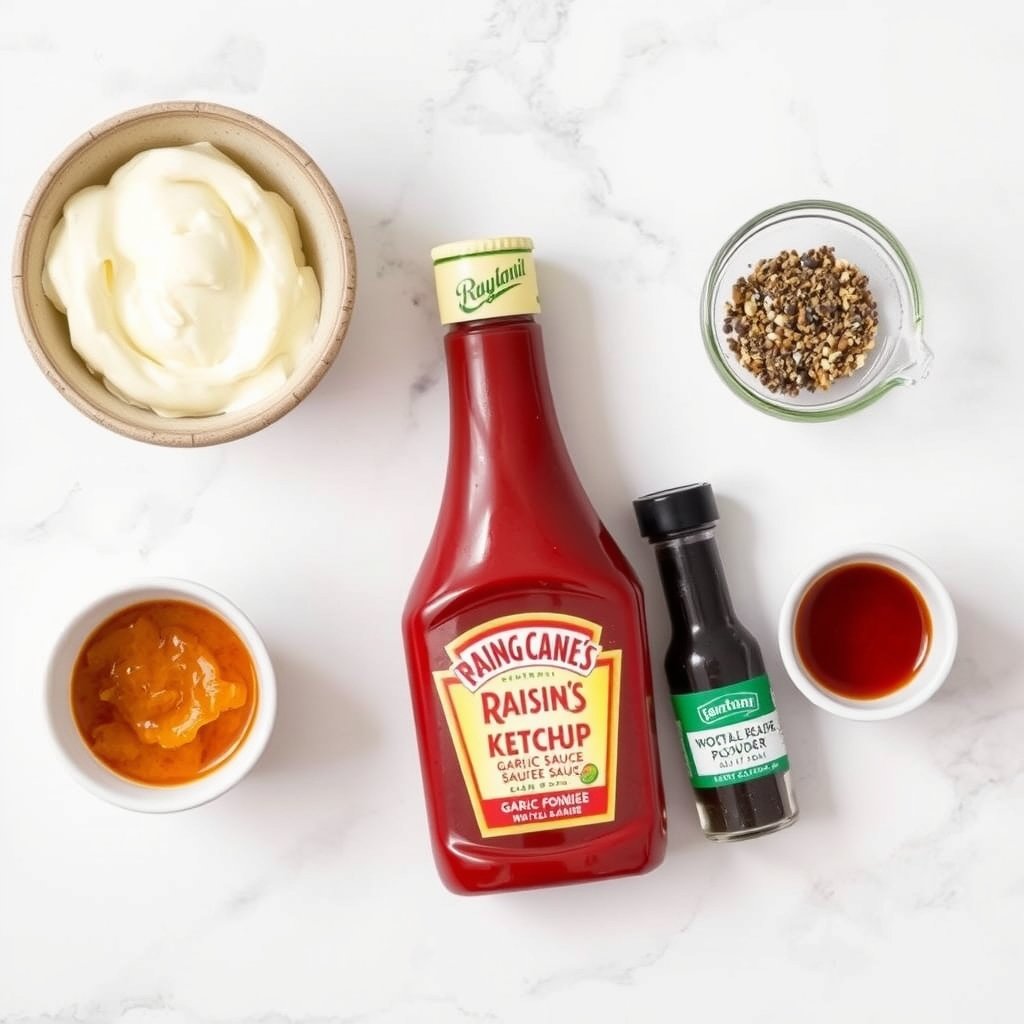
High-quality mayonnaise forms the foundation of this raising cane’s sauce at home, and I cannot stress enough how much the brand matters here. I’ve tested this recipe with everything from budget store brands to premium options like Duke’s and Hellmann’s, and the results vary significantly. You want a mayonnaise that’s creamy, slightly tangy, and not too sweet—I personally use Hellmann’s (or Best Foods if you’re on the West Coast) because it has that perfect balance and creates the exact texture you get at the restaurant. Avoid mayonnaise that’s labeled “light” or “low-fat” because it will make your sauce watery and won’t emulsify properly with the other ingredients, leaving you with a separated, unappetizing mixture.
The Flavor Enhancers
Ketchup is the second major component, and it does double duty in this recipe by adding both sweetness and that signature pinkish color that makes Cane’s sauce so recognizable. Regular Heinz ketchup works perfectly—don’t overthink this ingredient or try to use fancy artisanal ketchup, as the classic version has the exact flavor profile we’re replicating. Worcestershire sauce brings incredible depth and umami to the mix, adding that subtle savory complexity that makes you keep reaching for more. I use Lea & Perrins, which is the most common brand and works beautifully, but any standard Worcestershire sauce will do the job as long as it’s not a reduced-sodium version, which can taste flat.
The Seasoning Components
Garlic powder is essential for that subtle garlic presence without the harshness of raw garlic, and I specifically use garlic powder rather than granulated garlic because it dissolves more smoothly into the sauce. Black pepper adds a gentle spiciness and visual appeal with those little black specks throughout the sauce—I use freshly ground black pepper because it has more flavor than pre-ground, but either will work if that’s what you have on hand. A tiny bit of salt is necessary to bring all the flavors together and balance the sweetness, though you’ll use less than you might expect because the Worcestershire sauce and ketchup already contribute some sodium. These seasonings transform what would otherwise be a simple mayo-ketchup mixture into something that tastes complex and craveable, giving you that tangy mayo sauce everyone loves.
Pro Tips Before You Start
- Let the sauce rest before serving: This is the single most important tip I can give you for achieving that authentic Cane’s flavor. While the sauce is technically ready to eat immediately after mixing, the flavors need time to marry and mellow together. I always make my sauce at least two hours before I plan to serve it, and ideally the night before if I’m organized. After about four to six hours in the refrigerator, something magical happens—the garlic powder fully hydrates, the Worcestershire sauce permeates throughout, and all those individual flavors become one cohesive, restaurant-quality sauce. The difference between freshly mixed and properly rested sauce is dramatic, so plan ahead if you can.
- Use room temperature ingredients for better emulsification: I learned this trick after making a batch with ice-cold mayo straight from the fridge and ending up with a slightly separated, grainy texture. When your mayonnaise and other ingredients are closer to room temperature, they blend together much more smoothly and create that silky, uniform consistency that makes this copycat restaurant sauce so appealing. Take your mayo out of the fridge about fifteen minutes before you start, and you’ll notice how much easier it is to whisk everything together into a perfectly smooth sauce without any lumps or separation.
- Whisk thoroughly and in the right order: The mixing technique matters more than you might think for this simple recipe. I always start by whisking together the mayonnaise and ketchup first until they’re completely combined and smooth, then I add the liquid Worcestershire sauce and whisk again, and finally I incorporate the dry seasonings. This layered approach prevents clumping and ensures every ingredient is evenly distributed throughout the sauce. Whisk vigorously for at least thirty seconds after adding each component—you want to see absolutely no streaks of ketchup or mayo, and the color should be uniform throughout.
- Measure your Worcestershire sauce carefully: This ingredient is potent, and the line between “perfectly balanced” and “too much Worcestershire” is surprisingly thin. I’ve accidentally made batches that tasted too intensely savory and almost fishy because I got heavy-handed with the Worcestershire, and there’s really no way to fix it once you’ve added too much. Use actual measuring spoons rather than eyeballing it, especially the first few times you make this recipe. Once you’ve made it a few times and know the flavor profile you’re aiming for, you can adjust to your preference, but start conservatively.
- Adjust consistency with pickle juice if needed: Here’s a secret ingredient that many copycat recipes miss—a tiny splash of pickle juice can thin out your sauce slightly while adding a subtle tanginess that gets you even closer to the original. The restaurant version has a consistency that’s slightly thinner than straight mayonnaise, and if your sauce seems too thick, a teaspoon or two of pickle juice (from dill pickles, not sweet) works wonders. This is also what I suspect gives the restaurant version that extra tangy kick that’s hard to identify but definitely present.
- Taste and adjust before refrigerating: The flavors will intensify slightly as the sauce sits, particularly the garlic and black pepper, so taste your sauce before you put it in the fridge and make sure it’s slightly under-seasoned rather than perfectly seasoned. What tastes perfect right after mixing might taste too garlicky or peppery after sitting overnight. I aim for a flavor that’s about ninety percent of where I want it to be, knowing that final ten percent will develop during the resting period. If you taste it after refrigeration and it needs more punch, you can always whisk in a bit more seasoning, but you can’t take it away.
- Store in a glass container for best results: I always transfer my raising cane’s sauce dupe to a glass jar or container rather than plastic, and there’s a good reason beyond just aesthetics. Glass doesn’t absorb odors or stain like plastic can, which means your sauce will taste fresh and clean every time you use it. Plus, glass containers with tight-fitting lids keep the sauce fresher longer by preventing air exposure that can cause the mayonnaise to break down or develop off-flavors. I use small mason jars, which are perfect for storing and also make the sauce easy to shake up before serving if any separation has occurred.
- Make a double batch because you’ll go through it fast: Trust me on this one—every single time I make just one batch of this sauce, I regret not making more. It’s so good that you’ll find yourself putting it on everything from chicken tenders and fries to sandwiches, burgers, and even as a salad dressing base. The recipe doubles perfectly without any adjustments needed, and since it keeps well in the refrigerator for up to two weeks, there’s really no downside to making extra. I now automatically double the recipe every time, and my family still manages to go through it before it has any chance of going bad.
How To Make Copycat Raising Cane’s Sauce Recipe (Just Like the Original!)
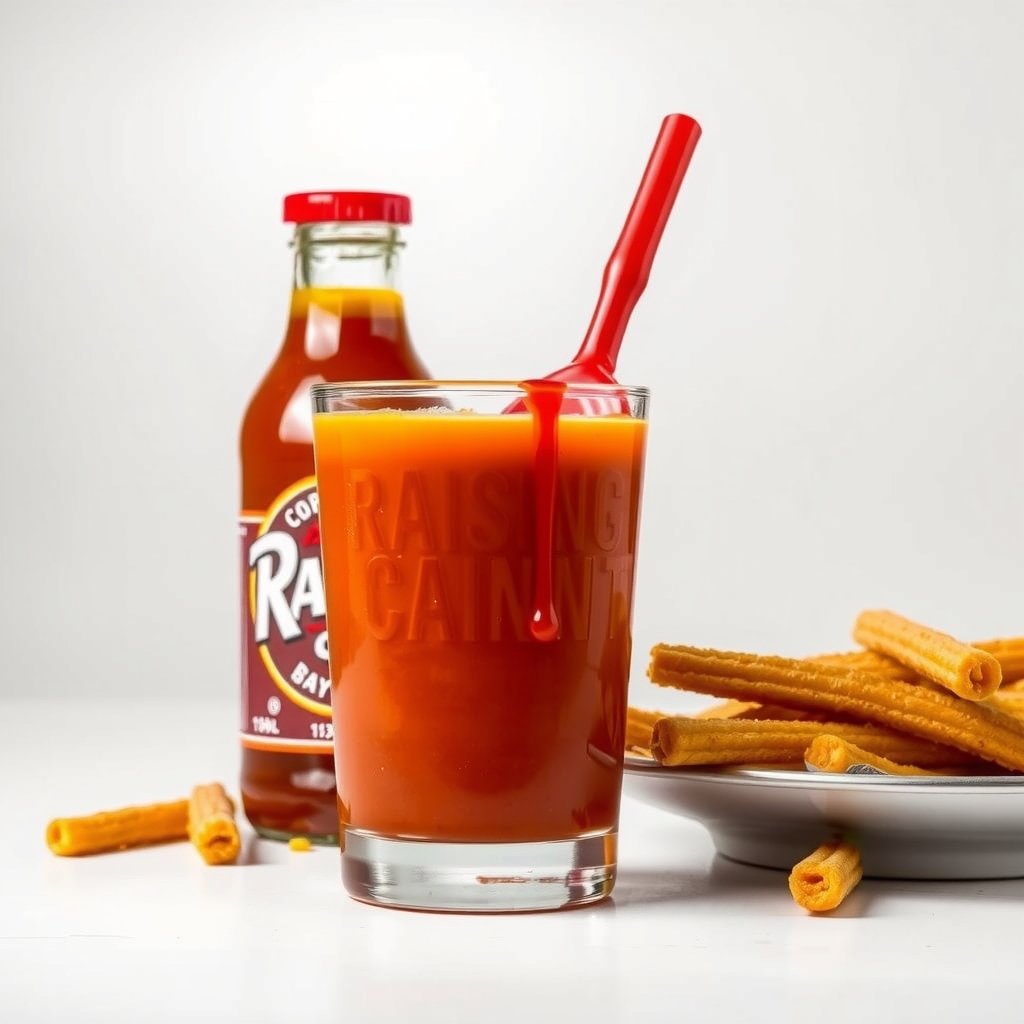
Making this incredible copycat raising cane’s sauce is genuinely as simple as measuring and mixing, but I want to walk you through the process so you understand exactly what you’re looking for at each step. You’ll start by combining your mayonnaise and ketchup in a medium bowl, whisking them together until you have a completely uniform, pale orange-pink mixture with no streaks whatsoever—this creates your base and should take about thirty seconds of vigorous whisking. Next, you’ll add the Worcestershire sauce and whisk again until it’s fully incorporated, which will deepen the color slightly and add a beautiful sheen to the sauce. Finally, you’ll sprinkle in your garlic powder, black pepper, and salt, whisking thoroughly to ensure these dry ingredients don’t clump together but instead dissolve smoothly throughout the sauce, creating that signature speckled appearance with tiny flecks of black pepper visible throughout. Once everything is mixed to perfection, transfer your sauce to an airtight container and refrigerate it for at least two hours (though overnight is even better) to let those flavors develop and meld into the addictive cane’s dipping sauce you know and love.
Copycat Raising Cane's Sauce Recipe (Just Like the Original!)
Ingredients
Equipment
Method
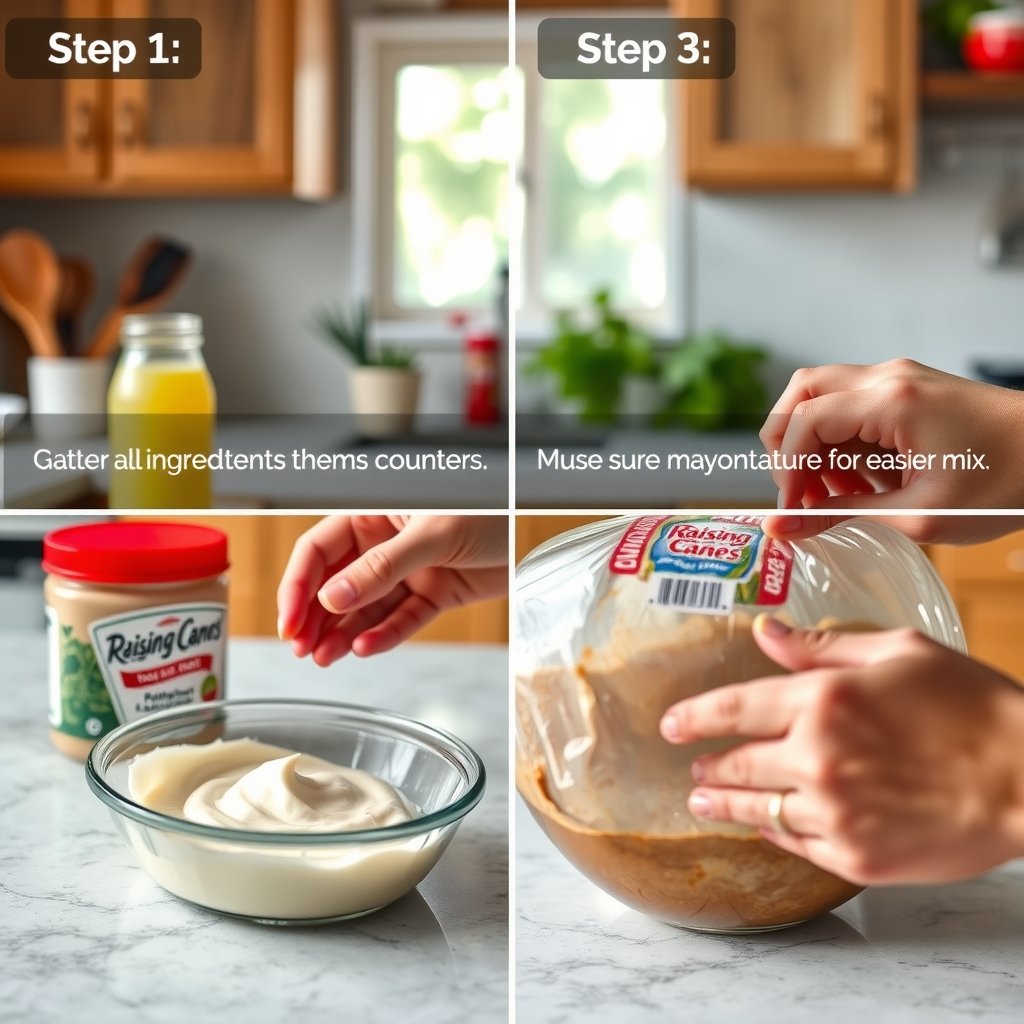
- Gather all your ingredients and place them on your counter for easy access. Make sure your mayonnaise is at room temperature for easier mixing and a smoother final texture.
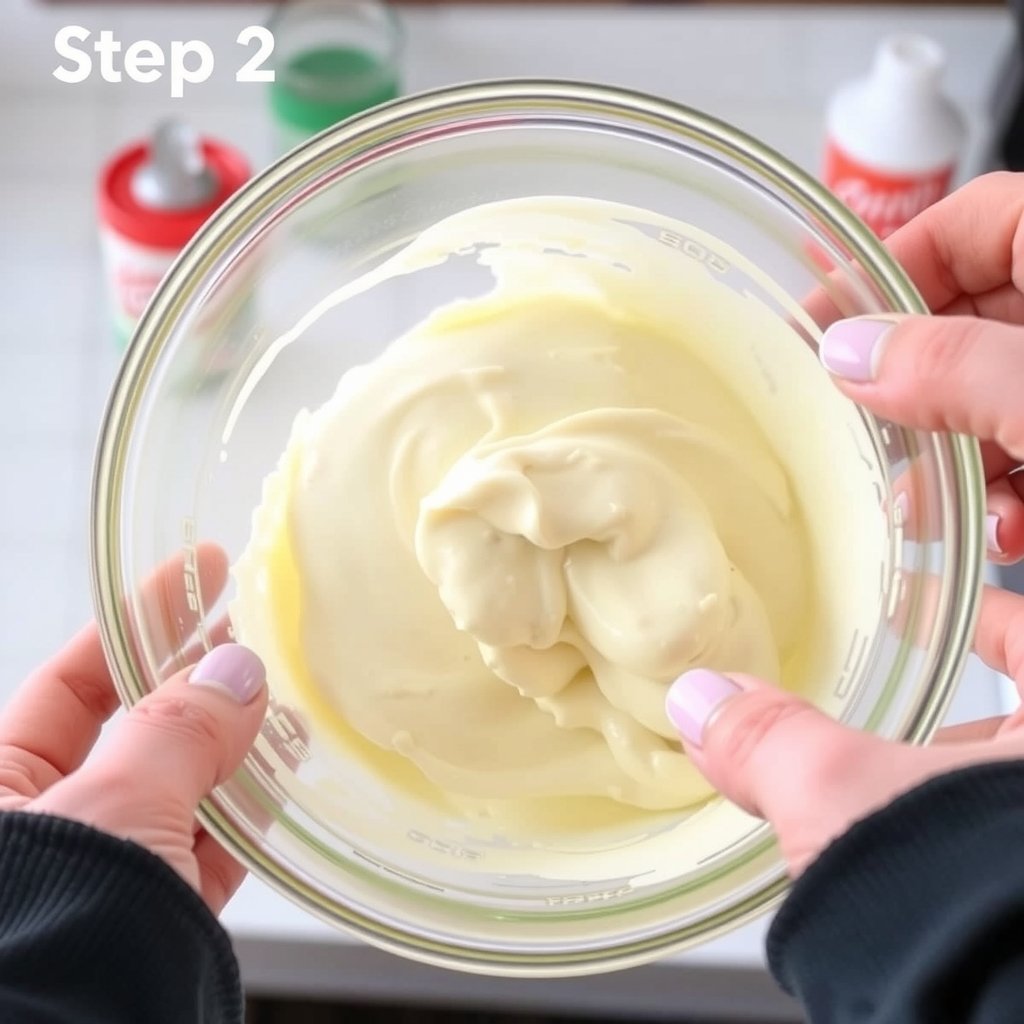
- In a medium mixing bowl, add the mayonnaise as your base ingredient. The mayonnaise should be smooth and creamy, forming the foundation of this iconic sauce.
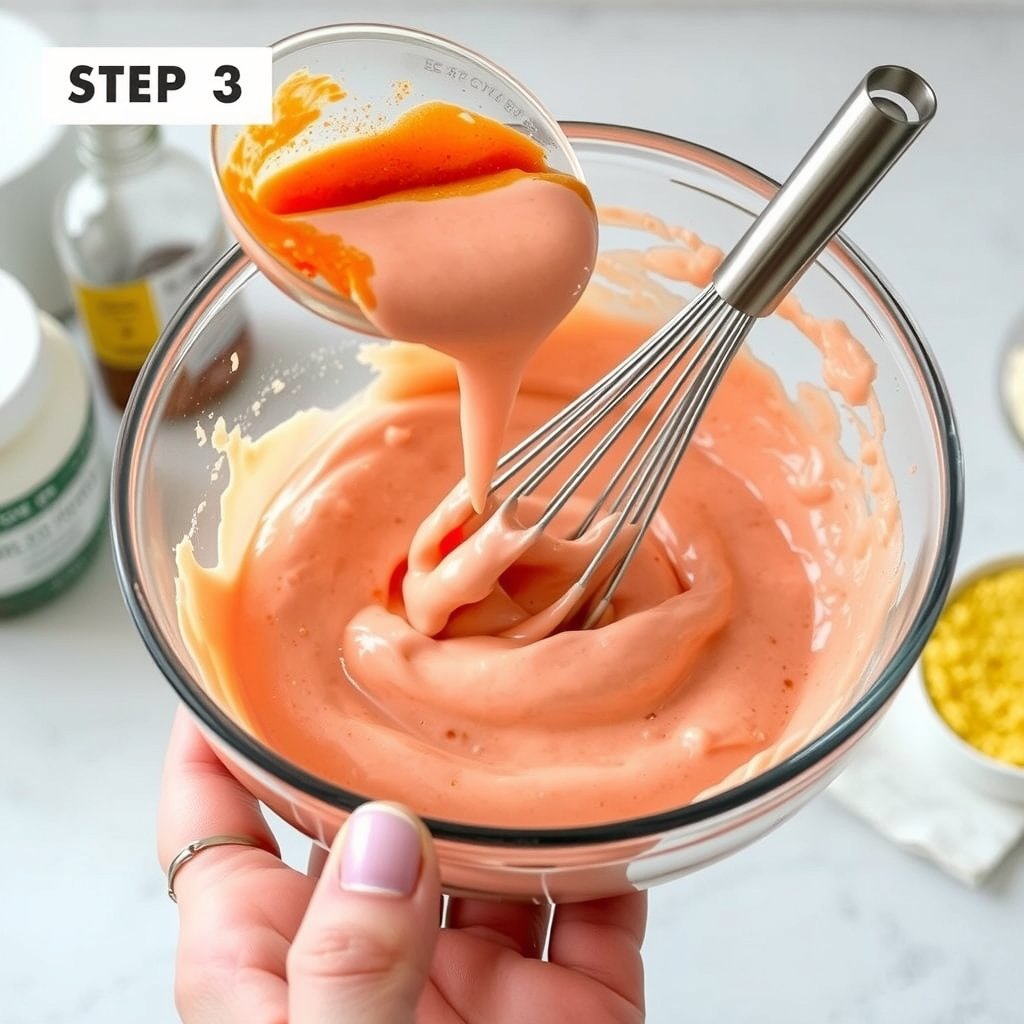
- Add the ketchup to the mayonnaise and begin whisking the two together until you see a uniform pale pink color developing. The mixture should be completely smooth with no streaks of white or red remaining, which typically takes about 30 seconds of steady whisking.
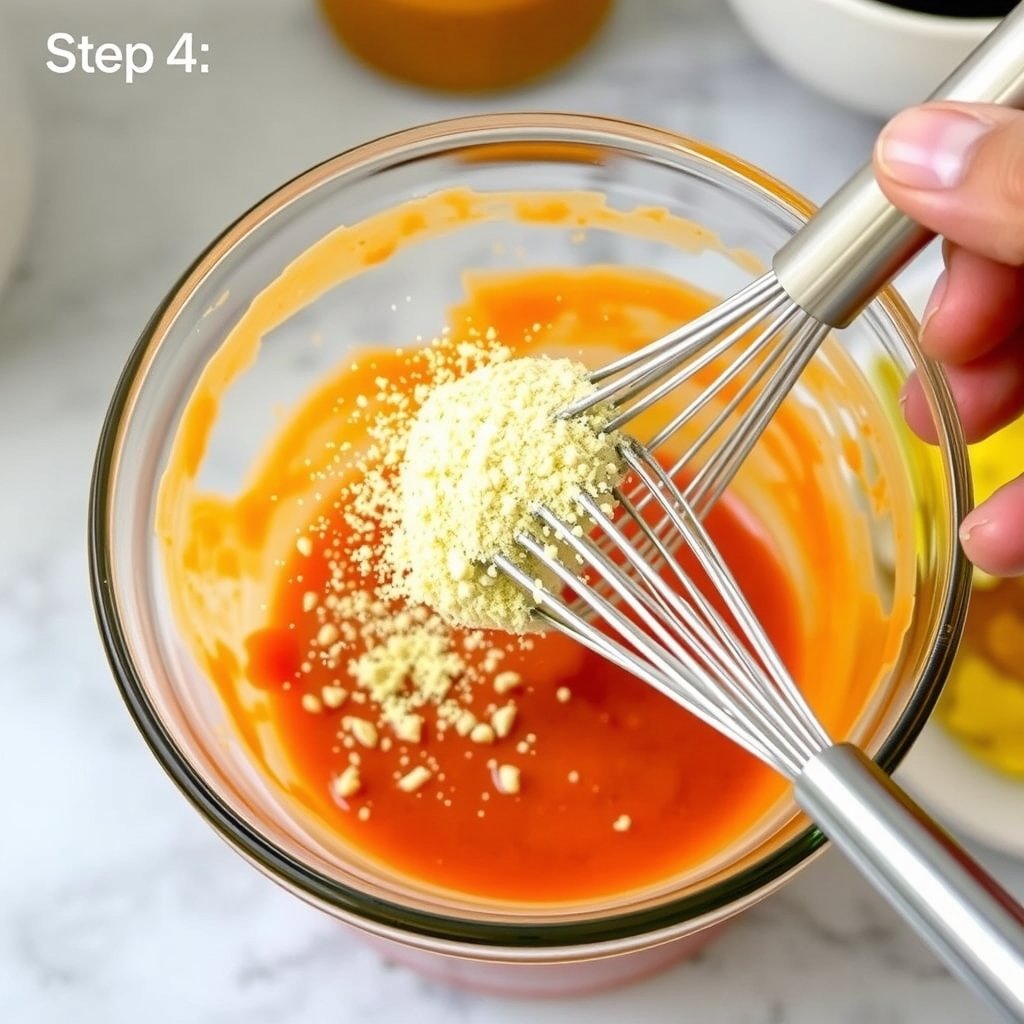
- Sprinkle in the garlic powder, making sure to break up any clumps so it distributes evenly throughout the sauce. Whisk thoroughly for another 15-20 seconds to ensure the garlic flavor is incorporated into every bite.
- Add the Worcestershire sauce, black pepper, salt, and paprika if using, then whisk vigorously for about 30 seconds. You should notice the sauce becoming slightly more fluid and the spices creating tiny flecks throughout the creamy mixture.
- Taste the sauce and adjust seasonings if needed, adding a pinch more salt for savory depth or a touch more ketchup for sweetness. The flavor should be tangy, slightly sweet, with a subtle garlic undertone that perfectly complements fried chicken.
- Transfer the sauce to an airtight container and refrigerate for at least 30 minutes before serving to allow the flavors to meld together. The sauce will thicken slightly as it chills and the taste will become more cohesive and restaurant-quality.
- Serve the chilled sauce alongside your favorite chicken fingers, fries, or as a spread for sandwiches. The sauce will keep in the refrigerator for up to one week in an airtight container, though it's so delicious it rarely lasts that long.
Step-by-Step Photos
Customizations & Variations
Spicy Cane’s Sauce
For those who like their sauce with a serious kick, I’ve developed a spicy version that’s become my husband’s absolute favorite and gets requested constantly at our house. Add a quarter teaspoon of cayenne pepper to the standard recipe, along with a few dashes of your favorite hot sauce—I use Frank’s RedHot or Tabasco, depending on what flavor profile I’m going for. The cayenne provides a slow-building heat that doesn’t hit you immediately but warms your mouth pleasantly, while the hot sauce adds vinegary tang and immediate spice. You can also try adding a pinch of smoked paprika for a smoky-spicy variation that pairs incredibly well with grilled chicken. Start conservatively with the heat additions and taste as you go, because you can always add more but you can’t take it away once it’s mixed in.
Extra Garlic Lovers’ Version
If you’re a garlic fanatic like several of my friends who request this variation specifically, you can amp up the garlic presence significantly without overwhelming the other flavors. Double the garlic powder called for in the original recipe, and consider adding a quarter teaspoon of onion powder as well to create more depth in the allium family of flavors. For an even more pronounced garlic experience, you can add a tiny amount of fresh grated garlic—use a microplane to grate about one small clove very finely, then whisk it in thoroughly. The fresh garlic adds a sharper, more pungent quality that some people absolutely love, though it does make the sauce slightly less shelf-stable, so use it within five days if you go the fresh garlic route. This version is phenomenal on garlic bread, garlic fries, or alongside roasted vegetables.
Lighter Version with Greek Yogurt
For a healthier take that still delivers impressive flavor, I’ve successfully made this sauce by replacing half the mayonnaise with full-fat Greek yogurt, creating a lighter version that has more protein and fewer calories while maintaining a creamy, satisfying texture. Use plain Greek yogurt, not vanilla, and make sure it’s full-fat rather than low-fat or non-fat, as you need that richness to properly emulate the mouthfeel of the original sauce. The Greek yogurt adds a pleasant tanginess that actually complements the other flavors beautifully, and while the texture is slightly thinner than the all-mayo version, it’s still perfect for dipping and spreading. This version has about forty percent fewer calories than the original, which means you can enjoy it more liberally if you’re watching your intake. Just note that the Greek yogurt version should be used within one week rather than two, as the yogurt doesn’t have quite the same preservative qualities as mayonnaise.
Sweet and Tangy Variation
Some people prefer their sauce on the sweeter side, and I’ve created a variation that emphasizes the sweet-tangy balance in a way that’s particularly popular with kids and anyone who loves sweet-and-sour flavors. Increase the ketchup slightly and add a teaspoon of honey or a half teaspoon of sugar to the standard recipe, which amplifies the sweetness without making it taste like dessert sauce. You can also add an extra splash of Worcestershire sauce to balance that sweetness with more tanginess, creating a more complex sweet-tangy profile. A tiny drop of apple cider vinegar (literally just a quarter teaspoon) can brighten everything up and add another layer of tang that makes this version incredibly addictive. This sweeter variation is fantastic with sweet potato fries, chicken nuggets, and even as a spread on sandwiches where you want a little extra flavor punch.
Smoky BBQ-Inspired Version
When I’m serving this sauce alongside grilled or smoked meats, I love making a smoky variation that bridges the gap between Cane’s sauce and barbecue sauce without fully committing to either direction. Add a half teaspoon of smoked paprika and a quarter teaspoon of liquid smoke to the base recipe, which infuses the sauce with a gorgeous smoky aroma and flavor that tastes like it came straight off the grill. You can also replace a tablespoon of the ketchup with your favorite barbecue sauce for even more smoky-sweet complexity. This version has become my go-to for summer cookouts, and it’s absolutely incredible with grilled chicken tenders, pulled pork sandwiches, or even as a dipping sauce for onion rings. The smokiness adds a sophisticated element that makes people think you’ve done something much more complicated than you actually have.
Herb-Infused Garden Version
For a fresher, more herbaceous take on this classic sauce, I sometimes add finely minced fresh herbs that transform it into something that feels more gourmet while still maintaining that essential Cane’s character. Whisk in a tablespoon of finely minced fresh parsley, a teaspoon of minced fresh dill, and a teaspoon of minced fresh chives for a sauce that’s bright, fresh, and perfect for spring and summer meals. The herbs add color, freshness, and a subtle complexity that makes this version feel restaurant-fancy. You can also try adding a tiny bit of lemon zest (just a quarter teaspoon, finely grated) for extra brightness that plays beautifully with the herbs. This variation is spectacular with grilled fish, shrimp, or as a spread on sandwiches and wraps where you want something lighter and brighter than the standard version. Just remember that fresh herbs shorten the shelf life, so use this version within five days.
Keto and Low-Carb Friendly
The standard recipe is already quite low in carbohydrates, but for those following strict keto or low-carb diets, you can make a few simple swaps to reduce the carb count even further without sacrificing flavor. Replace the regular ketchup with a sugar-free ketchup like Heinz No Sugar Added or a keto-friendly brand, which cuts out most of the sugar and carbs from that ingredient. Check your mayonnaise label to ensure you’re using a brand with no added sugars—most standard mayonnaise is naturally low-carb, but some brands sneak in sweeteners, so it’s worth double-checking. You can also add a tiny pinch of erythritol or your preferred keto-friendly sweetener if you want to maintain some of that subtle sweetness that the regular ketchup provides. This keto-friendly version tastes remarkably similar to the original and fits perfectly into low-carb meal plans, making it ideal for serving alongside low-carb versions of your favorite comfort foods.
Dairy-Free and Egg-Free Version
For those with egg allergies or following a vegan diet, you can absolutely make a plant-based version of this sauce that’s surprisingly close to the original in both taste and texture. Use vegan mayonnaise as your base—I’ve had excellent results with brands like Just Mayo (now called Just Egg Mayo) and Vegenaise, both of which have that creamy, rich texture you need for this recipe. Everything else in the recipe is naturally vegan and egg-free, so you just need to make that one swap and proceed exactly as directed. The vegan version has a slightly different flavor profile that’s a bit tangier and less rich than the egg-based original, but it’s still absolutely delicious and completely satisfying. I’ve served this to vegan friends who were thrilled to finally have a Cane’s sauce option they could enjoy, and several omnivores at the same gathering couldn’t tell it was made with vegan mayo when they tasted it blind.
Horseradish Kick Version
For a sophisticated variation with a sharp, sinus-clearing bite, I sometimes add prepared horseradish to the base recipe, creating a sauce that’s particularly fantastic with beef and seafood. Start with just a teaspoon of prepared horseradish (not horseradish sauce, which already has mayo in it) and whisk it in thoroughly, then taste and add more if you want more intensity. The horseradish adds a completely different dimension of spice that’s sharper and more nasal than pepper heat, and it creates a sauce that’s reminiscent of high-end steakhouse condiments. This version is phenomenal with prime rib, roast beef sandwiches, shrimp cocktail, or even as a spread on burgers where you want something more interesting than plain mayo or mustard. The horseradish flavor mellows slightly as it sits, so if you want maximum punch, add it right before serving rather than letting it sit overnight.
Asian-Fusion Variation
When I’m in the mood for something a bit different, I love creating an Asian-inspired fusion version that incorporates flavors from Japanese and Korean cuisine while maintaining the creamy, dippable nature of the original sauce. Replace the Worcestershire sauce with soy sauce or tamari for a gluten-free option, and add a tiny drizzle of sesame oil (just a quarter teaspoon, as it’s very potent) for a nutty, toasted flavor. A teaspoon of rice vinegar adds brightness and tang, and if you like heat, a dab of sriracha or gochujang creates a beautiful spicy-sweet element. Some finely minced scallions or a sprinkle of sesame seeds make excellent garnishes for this variation. This Asian-fusion version is absolutely incredible with chicken katsu, tempura, dumplings, or even as a spread on sushi burritos and Asian-inspired wraps.
Storing & Make-Ahead Tips
Proper storage is key to maintaining the quality and safety of your homemade cane’s sauce, and fortunately, this sauce stores exceptionally well when handled correctly. Always transfer your finished sauce to a clean, airtight container—I prefer glass jars or containers with tight-fitting lids, as they don’t absorb odors and keep the sauce freshest. In the refrigerator, this sauce will maintain peak quality for up to two weeks, though I’ve safely kept it for up to three weeks when stored properly in a very cold fridge. The mayonnaise base is naturally preservative and acidic, which helps prevent bacterial growth, and the Worcestershire sauce and salt also contribute to preservation. Make sure to store your sauce in the main body of your refrigerator rather than the door, as the door experiences more temperature fluctuations that can affect mayonnaise-based sauces and potentially cause separation or spoilage.
I don’t recommend freezing this sauce, as mayonnaise-based condiments generally don’t freeze and thaw well—the emulsion breaks down during freezing, and when thawed, you’ll end up with a separated, watery mess that no amount of whisking can bring back together. If you’ve made more sauce than you can use within two weeks, it’s better to share it with friends and family or reduce your batch size next time rather than attempting to freeze it. That said, the sauce is so delicious that I’ve never actually had any go to waste—it disappears long before the two-week mark in my house, and I suspect the same will be true for you once you discover how versatile and addictive it is.
For make-ahead convenience, this sauce is actually better when made in advance, which makes it perfect for meal prep and party planning. I always make my sauce at least one day before I need it, as the flavors develop and improve dramatically after sitting in the refrigerator overnight. If you’re planning a party or gathering where you’ll be serving this sauce, make it two or three days ahead—this gives you one less thing to worry about on the day of your event, and the sauce will taste even better than if you’d made it fresh that morning. The make-ahead nature of this recipe also makes it perfect for weekly meal prep; I often make a batch on Sunday that I use throughout the week for quick lunches and dinners, knowing it will stay fresh and delicious the entire time.
When it comes to signs of spoilage, trust your senses and use common sense food safety practices. Fresh sauce should have a pleasant, tangy aroma with notes of garlic and Worcestershire; if it develops any sour, rancid, or off-putting smells, discard it immediately. The color should remain that characteristic pale peachy-pink throughout its storage life—if you notice any discoloration, darkening, or especially any mold growth, throw it away. The texture should stay smooth and creamy; if it becomes watery with liquid separating out, or if it develops an unusually thick or slimy consistency, these are signs that the sauce has gone bad. Always use clean utensils when scooping sauce from your storage container to prevent introducing bacteria, and never double-dip or put used sauce back into your storage container, as this significantly reduces shelf life and can lead to contamination.
Frequently Asked Questions
How many calories are in copycat Raising Cane’s sauce?
A typical two-tablespoon serving of this copycat raising cane’s sauce contains approximately 180-200 calories, depending on the exact brands of mayonnaise and ketchup you use. The vast majority of those calories come from the mayonnaise, which is a fat-based condiment, while the ketchup contributes some sugar and carbohydrates. If you’re tracking macros, each two-tablespoon serving has roughly 20 grams of fat, 3 grams of carbohydrates, and minimal protein. For more detailed nutritional information based on specific brands, you can input your exact ingredients into a nutrition calculator. While this sauce is definitely indulgent, remember that a little goes a long way—you don’t need to drench your food in it to get that delicious Cane’s flavor, and a tablespoon or two is usually plenty for dipping purposes.
Can I substitute Greek yogurt or sour cream for the mayonnaise?
You can absolutely substitute Greek yogurt for part or all of the mayonnaise, though the results will differ slightly from the original in both taste and texture. I’ve had the best success replacing half the mayonnaise with full-fat Greek yogurt, which creates a lighter version that still has good body and creaminess while adding protein and reducing overall calories and fat. If you replace all the mayonnaise with Greek yogurt, the sauce becomes noticeably tangier and thinner, and it won’t have quite the same rich, velvety mouthfeel that makes the original so addictive. Sour cream can also work as a partial substitute, though it makes the sauce even tangier than Greek yogurt does and creates a slightly thinner consistency. Whatever substitution you choose, I recommend using full-fat dairy products rather than low-fat or non-fat versions, as you need that fat content to create a sauce with proper body and richness that doesn’t taste watery or thin.
How long does homemade Cane’s sauce last in the refrigerator?
When stored properly in an airtight container in the refrigerator, your how to make raising cane’s sauce creation will stay fresh and delicious for up to two weeks, and I’ve safely kept it for up to three weeks when my fridge is very cold and I’ve been careful about using clean utensils every time I scoop some out. The key factors that determine shelf life are proper storage temperature (below 40°F), using clean utensils to prevent contamination, and keeping the container tightly sealed when not in use to prevent air exposure. The mayonnaise base, combined with the acidic ingredients like Worcestershire sauce and ketchup, creates an environment that’s relatively inhospitable to bacteria, which is why this sauce keeps longer than you might expect. Always check for signs of spoilage before using—if it smells off, looks discolored, or has separated significantly, it’s time to make a fresh batch. In my experience, the sauce actually tastes better after a few days as the flavors continue to develop, so don’t worry that it will decline in quality over that two-week period.
Can I make this sauce ahead of time for a party?
Not only can you make this sauce ahead for a party, but you absolutely should—it’s one of those rare recipes that actually improves with time rather than deteriorating. I always make my sauce at least one full day before I need it, and preferably two to three days ahead if I’m serving it at a party or gathering. The advance preparation allows all the flavors to meld together beautifully, with the garlic powder fully hydrating, the Worcestershire sauce permeating throughout, and all those individual components becoming one cohesive, restaurant-quality sauce. Making it ahead also eliminates last-minute stress on the day of your event, giving you one less thing to worry about when you’re trying to get everything else ready. The sauce actually reaches peak flavor around the three to four-day mark, so timing your preparation for three days before your party means you’ll be serving it at its absolute best. Just remember to store it in an airtight container in the coldest part of your refrigerator, and give it a quick stir before serving in case any minor separation has occurred.
Is homemade Cane’s sauce healthier than the restaurant version?
The healthiness of homemade versus restaurant sauce depends largely on the ingredients you choose and your definition of “healthy,” but making it at home does give you significantly more control over what goes into your sauce. When you make this secret sauce recipe yourself, you can select high-quality mayonnaise made with better oils (like avocado oil or olive oil mayo), reduce the sodium by using low-sodium Worcestershire sauce and ketchup, and adjust the overall quantities to suit your dietary needs. The restaurant version likely uses industrial-scale ingredients that may contain preservatives, stabilizers, and other additives that you won’t find in your homemade version. That said, both versions are fundamentally mayonnaise-based sauces, which means they’re relatively high in fat and calories regardless of where they’re made. The homemade version isn’t necessarily lower in calories unless you specifically make substitutions like using Greek yogurt, but it does give you transparency about exactly what you’re eating and the ability to make modifications that align with your health goals.
What makes the original Raising Cane’s sauce so special and addictive?
The genius of the original Cane’s sauce lies in its perfect balance of flavors and its incredibly craveable combination of creamy, tangy, slightly sweet, and subtly savory elements that hit multiple taste receptors at once. The mayonnaise provides richness and fat that makes the sauce satisfying and coating, while the ketchup adds sweetness and acidity that brighten everything up. The Worcestershire sauce is the secret weapon that most people can’t quite identify but that adds incredible umami depth and complexity, making you want to keep coming back for more to figure out what that mysterious delicious flavor is. The garlic and pepper add just enough aromatic quality and gentle spice to make the sauce interesting without overwhelming the other flavors. The restaurant has also created a consistency that’s perfect for dipping—not so thick that it globs on your food, but not so thin that it runs off immediately. When you combine all these elements in the right proportions, you get a sauce that’s genuinely greater than the sum of its parts, and that’s what makes both the original and this copycat version so incredibly addictive.
Can kids eat this sauce, and is it too spicy for them?
This sauce is extremely kid-friendly and is actually one of the reasons Raising Cane’s is so popular with families—the spice level is very mild and approachable for even young children who are sensitive to heat. The black pepper provides just a tiny bit of gentle warmth, but it’s nowhere near spicy enough to bother most kids, and the sweet notes from the ketchup make it appealing to younger palates. I’ve served this sauce to children as young as three years old with great success, and it’s become a favorite among my friends’ kids who are notoriously picky eaters. If you have an extremely spice-sensitive child, you can reduce or omit the black pepper entirely without significantly affecting the overall flavor profile. The sauce is also mild enough that it won’t upset sensitive stomachs, and the familiar flavors of mayonnaise and ketchup make it less intimidating than more exotic condiments. Many