Copycat Panera Mac and Cheese Recipe
This copycat Panera mac and cheese recipe delivers that signature creamy, ultra-rich white cheddar sauce you crave from the restaurant, but for a fraction of the price and right in your own kitchen. While a single serving at Panera costs upwards of seven dollars, you can make an entire family-sized batch at home for less than fifteen dollars total. In this comprehensive guide, I’ll walk you through every step to recreate this beloved comfort food classic, share my hard-earned tips for getting that perfect velvety texture, and show you how to customize it to your family’s tastes.
Why You’ll Love This Recipe
I’ve been obsessed with perfecting this panera mac and cheese recipe for years, and I can confidently say this homemade version rivals—and in many ways surpasses—the original. The creamy white cheddar mac and cheese at Panera has a cult following for good reason: it’s incredibly rich, perfectly seasoned, and has that luxurious mouthfeel that makes you want to scrape every last bit from the bowl. My recipe captures all of those qualities while giving you complete control over the ingredient quality and portion sizes.
The cost savings alone make this recipe a winner in my book. When you order this dish from the Panera Bread menu, you’re paying premium prices for what amounts to fairly simple ingredients. By making homemade panera mac and cheese yourself, you’re looking at spending roughly two to three dollars per generous serving instead of seven or more. That means a family of four can enjoy this restaurant-quality dish for under twelve dollars total, and you’ll likely have leftovers. Over the course of a month, if your family loves mac and cheese as much as mine does, those savings really add up to something significant.
What I love most about this recipe is how it actually improves on the original in several key ways. The restaurant version can sometimes arrive lukewarm or with a slightly grainy texture if it’s been sitting under a heat lamp. When you make it fresh at home, you control the exact moment it goes from stove to table, ensuring that perfect creamy consistency every single time. Plus, you can adjust the cheese blend to your preferences—I like adding a touch of sharp white cheddar for extra depth, or stirring in some Gruyère when I’m feeling fancy. You simply can’t get that level of customization when ordering out.
Despite how luxurious this dish tastes, it’s surprisingly straightforward to prepare, even for novice cooks. You don’t need any specialized equipment beyond a good pot and a whisk, and the entire process from start to finish takes less than thirty minutes. I’ve made this on hectic weeknights when I needed comfort food fast, and I’ve also served it at casual dinner parties where it always steals the show. The recipe is forgiving enough that small variations in timing or technique won’t ruin it, but precise enough that following my instructions will give you consistently excellent results every time.
Finally, this recipe serves as an incredible base for customization and creativity. Once you’ve mastered the basic technique for how to make panera mac and cheese, you can riff on it endlessly. I’ve added crispy bacon and jalapeños for a spicy kick, stirred in lobster chunks for a special occasion, and even baked it with a buttery breadcrumb topping when I wanted something extra indulgent. The fundamental sauce technique you’ll learn here applies to countless other dishes, making this recipe an invaluable addition to your cooking repertoire that will serve you well for years to come.
What You’ll Need
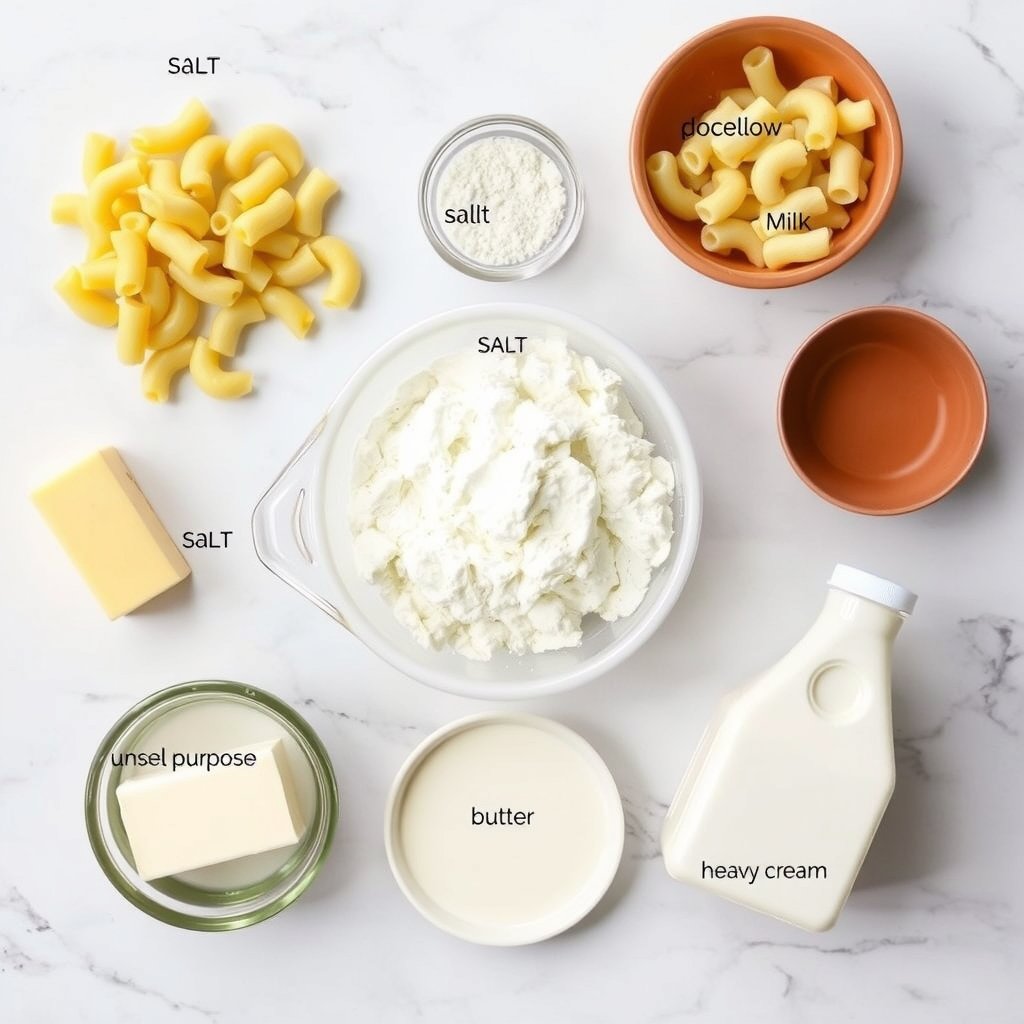
The Pasta Foundation
The pasta you choose makes a bigger difference than you might think in recreating that authentic Panera experience. Elbow macaroni is the classic choice and what I recommend for the most accurate panera mac and cheese dupe, as those little curved tubes hold onto the creamy sauce beautifully in every bite. Look for a quality brand made from durum wheat semolina, which will hold its shape better during cooking and won’t turn mushy when coated in the rich cheese sauce. If you can’t find elbows or want to switch things up, cavatappi (corkscrew pasta) or small shells work wonderfully as alternatives since their shapes also trap plenty of that luscious sauce.
The Cheese Blend
The cheese is obviously the star of any mac and cheese, and getting the right blend is absolutely crucial for nailing that distinctive Panera flavor profile. White cheddar is the primary cheese here—specifically, a sharp or extra-sharp white Vermont cheddar gives you that tangy, complex flavor that makes this dish so crave-worthy. I always buy blocks of cheese and shred them myself rather than using pre-shredded bags, because those contain anti-caking agents that can make your sauce grainy instead of silky smooth. For the most authentic taste, you’ll also want a bit of American cheese, which might seem like a downgrade, but it actually contains emulsifying salts that help create that ultra-creamy, never-breaks texture that restaurant-style mac and cheese is known for.
The Creamy Base
The liquid components of your sauce determine whether you end up with a thin, soupy mess or that gloriously thick and clingy consistency we’re after. Whole milk is essential here—don’t try to lighten things up with skim or two percent, as you need that fat content for proper richness and body. Heavy cream takes things to the next level, adding a luxurious silkiness that makes each bite feel truly indulgent. Some recipes try to cut corners by using all milk, but trust me, the cream makes a noticeable difference in both flavor and mouthfeel, bringing you much closer to what you experience when eating the real thing at Panera Bread.
The Roux Components
Butter and flour form the roux that serves as the thickening base for your cheese sauce, and this is where proper technique really matters. Use unsalted butter so you can control the salt level in your final dish, and make sure it’s real butter, not margarine or any substitute, as the flavor difference is significant. All-purpose flour is what you’ll whisk into the melted butter to create that paste-like roux that will thicken your sauce to the perfect consistency. The quality of these ingredients might seem less important than the cheese, but a good European-style butter with higher fat content will actually contribute a noticeable richness to your finished white cheddar pasta.
The Flavor Enhancers
The seasonings might seem like minor players, but they’re what transform a basic cheese sauce into something that tastes like it came from a professional kitchen. Dijon mustard is a secret weapon that adds a subtle tang and depth without making the dish taste mustardy—it just makes the cheese flavor pop and adds complexity. A pinch of garlic powder, some onion powder, and a dash of white pepper (or black if that’s what you have) round out the flavor profile beautifully. Don’t skip the salt, but add it gradually and taste as you go, since different cheeses have varying salt levels and you don’t want to overdo it.
Pro Tips Before You Start
- Always shred your cheese fresh from the block right before you start cooking, and let it come to room temperature for about twenty minutes beforehand. Cold cheese doesn’t melt as smoothly into the sauce and is more likely to create a grainy texture instead of that silky consistency we’re after. I keep my shredded cheese in a bowl near the stove so it’s ready to go the moment I need it, and this small step has eliminated most of the texture issues I used to encounter when making this copycat panera mac and cheese.
- Cook your pasta exactly one minute less than the package directions suggest, because it will continue cooking slightly when you toss it with the hot cheese sauce. Mushy, overcooked pasta is one of the biggest mistakes I see people make with mac and cheese recipes, and it completely changes the texture of the final dish. The pasta should still have a slight firmness in the center when you drain it—what Italians call “al dente”—and make sure to reserve at least a cup of that starchy pasta water before draining, as you can use it to adjust your sauce consistency if needed.
- Make your roux over medium-low heat and give it a full two to three minutes of cooking time while whisking constantly, which cooks out that raw flour taste that can ruin an otherwise perfect sauce. The mixture should bubble gently and turn a very light golden color, but don’t let it brown or you’ll end up with a nutty flavor that doesn’t belong in this dish. This patient approach to the roux is what separates restaurant-quality results from the gluey, pasty sauce that happens when you rush this crucial step.
- Add your milk and cream gradually while whisking vigorously to prevent lumps from forming in your sauce base. I like to add about a third of the liquid first, whisk until completely smooth, then add another third, whisk again, and finally add the rest. This gradual incorporation creates a perfectly smooth foundation for your cheese, and even if you do get a few small lumps, you can usually whisk them out if you catch them early before the sauce thickens too much.
- Remove the pot from the heat before adding your cheese, as direct heat can cause the cheese to break and become greasy or grainy rather than melting into a smooth, unified sauce. Add the cheese in three or four additions, stirring each batch until completely melted before adding more, and resist the urge to crank up the heat to speed things along. Patience during this stage is what gives you that velvety, cohesive sauce that clings to every piece of pasta just like it does in the restaurant version.
- Taste and adjust your seasonings after the cheese is fully incorporated but before you add the pasta, because this is your last chance to make corrections easily. The sauce should taste slightly more seasoned than you think it needs to be, because the pasta will dilute the flavors somewhat when you combine everything. I always add a pinch more salt and an extra dash of mustard at this stage, and I’ve found that erring on the side of slightly over-seasoned sauce yields a perfectly balanced final dish.
- Serve this homemade panera mac and cheese immediately after combining the pasta and sauce for the best texture and temperature. Unlike baked mac and cheese, this stovetop version is at its absolute peak right when you make it, with the sauce at the perfect consistency and the dish piping hot throughout. If you need to hold it for a few minutes before serving, keep it in the pot over the lowest possible heat and stir occasionally, adding a splash of milk if it starts to thicken too much.
- Clean your pot and utensils with hot soapy water as soon as possible after serving, because dried cheese sauce is notoriously difficult to remove once it hardens. I usually fill the pot with hot water and a squirt of dish soap immediately after dishing up everyone’s portions, which makes cleanup much easier later and prevents that frustrating scrubbing session that can happen if you let cheesy dishes sit too long.
How To Make Copycat Panera Mac and Cheese Recipe (Better Than the Original!)
Making this restaurant-style mac and cheese is a beautifully straightforward process that comes together in just about twenty-five minutes from start to finish. You’ll begin by cooking your pasta in well-salted boiling water while you prepare the cheese sauce, then you’ll build a classic roux with butter and flour, gradually whisk in your milk and cream to create a smooth base, and finally stir in your freshly shredded cheese off the heat until you have a gloriously creamy sauce. Once your pasta is drained and your sauce is perfectly smooth and seasoned, you’ll combine them together in the pot, stirring gently until every piece of pasta is luxuriously coated in that rich white cheddar sauce. The whole process is incredibly satisfying to watch come together, and the amazing aroma that fills your kitchen will have everyone gathering around asking when dinner will be ready.
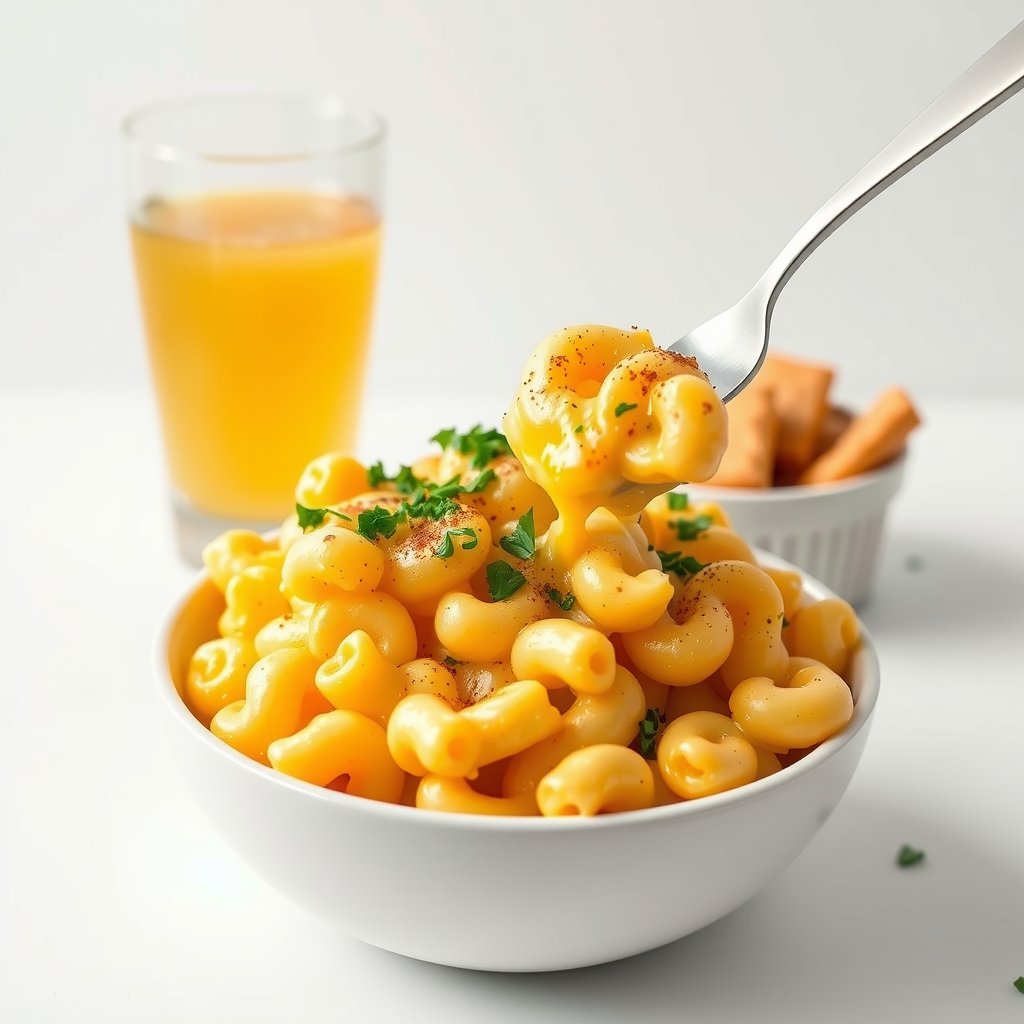
Copycat Panera Mac and Cheese Recipe (Better Than the Original!)
Ingredients
Equipment
Method
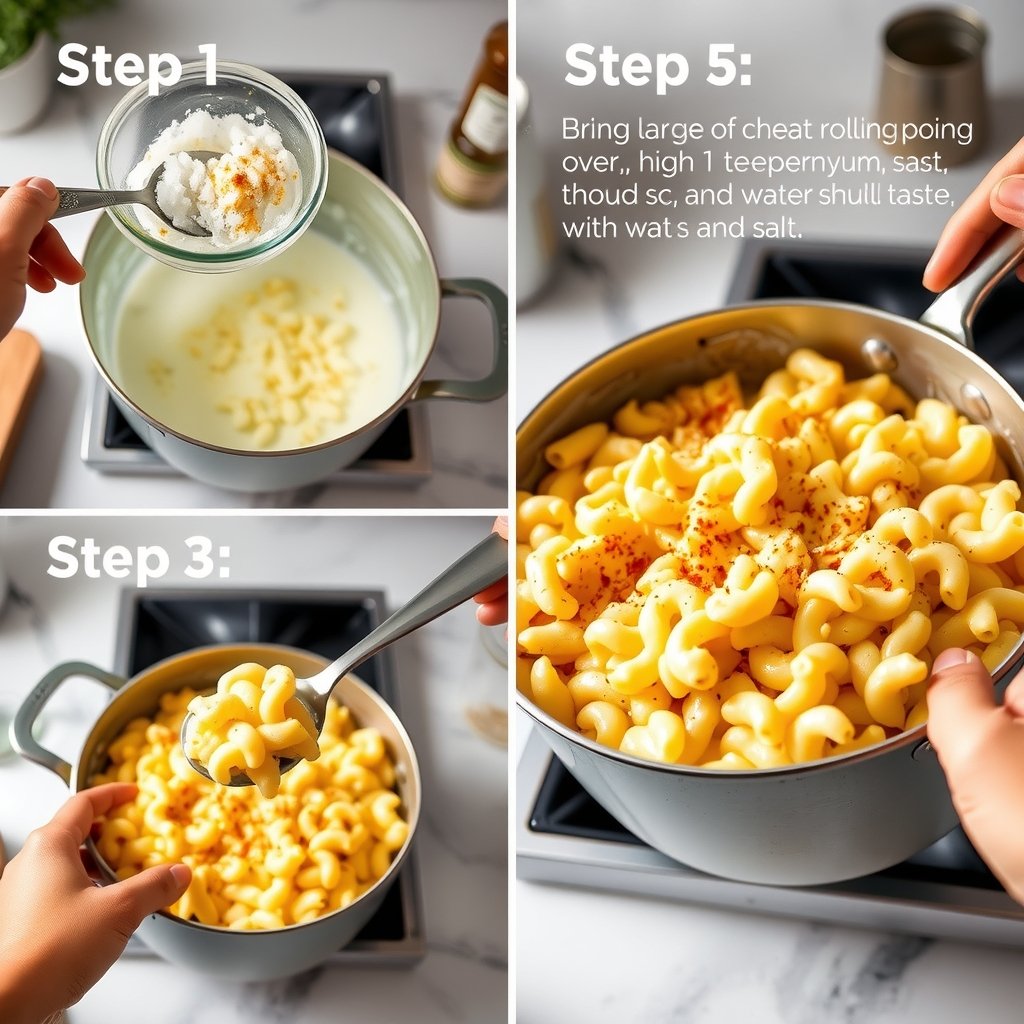
- Bring a large pot of water to a rolling boil over high heat, then add 1 tablespoon of salt. The water should taste like the ocean, which will properly season the pasta from the inside out.
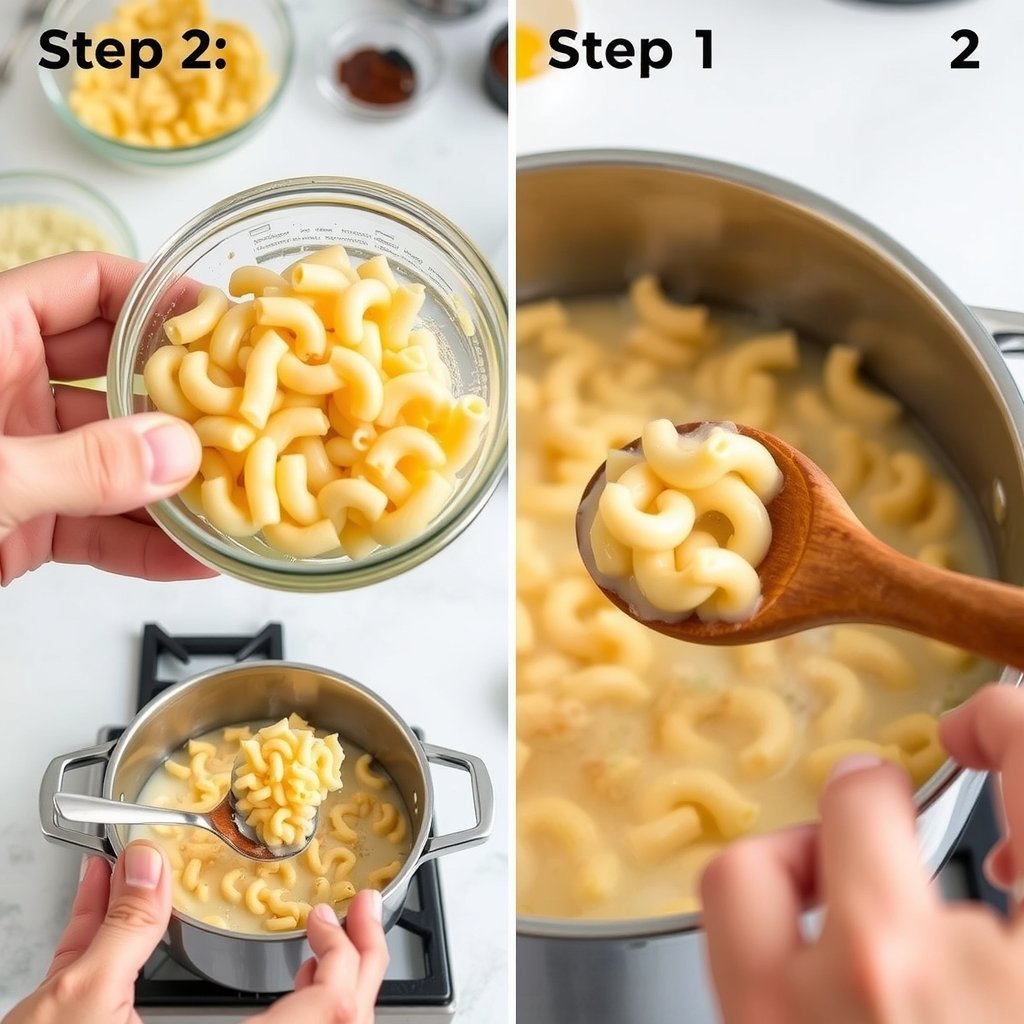
- Add the elbow macaroni to the boiling water and cook according to package directions until al dente, usually 7-8 minutes. You want the pasta to have a slight bite to it since it will continue to absorb sauce after draining. Drain the pasta in a colander and set aside, but do not rinse as the starch helps the sauce cling to the pasta.
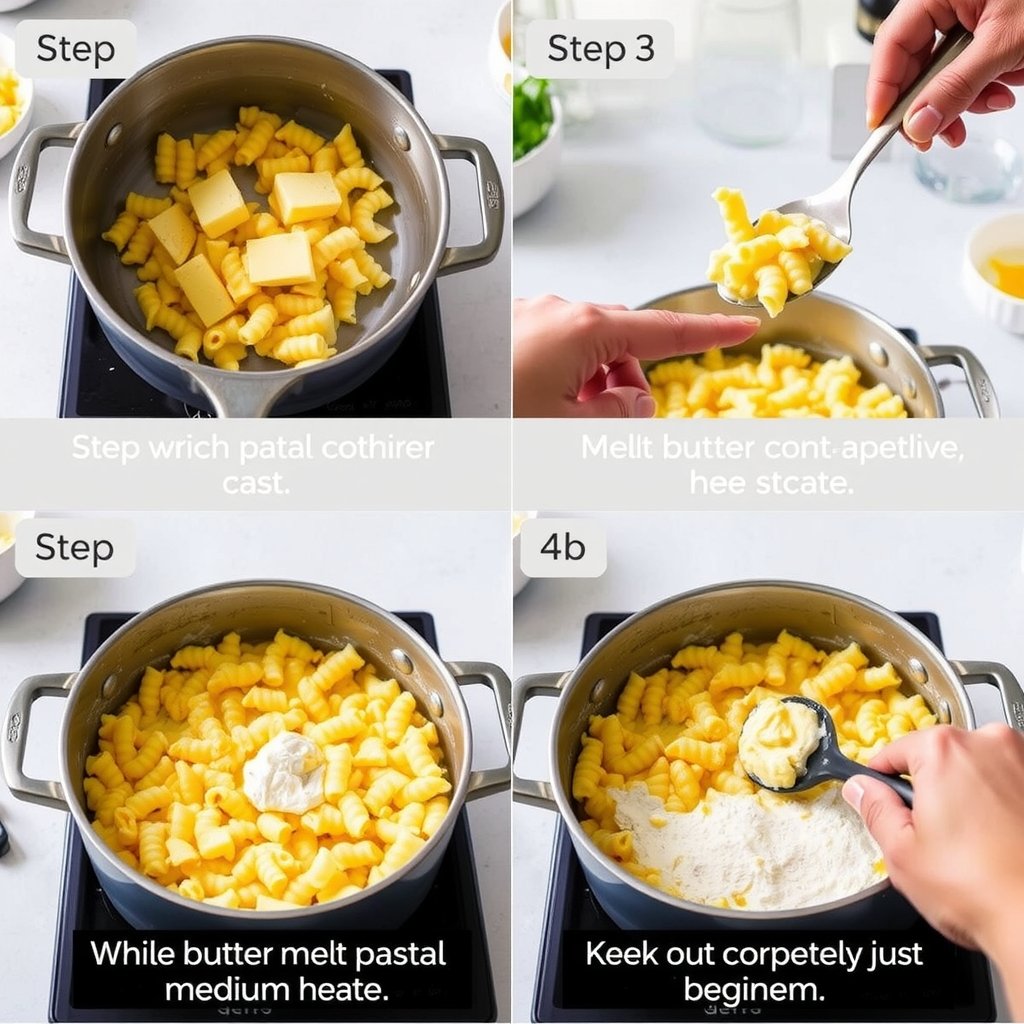
- While the pasta cooks, melt the butter in a medium saucepan over medium heat until it's completely liquefied and just beginning to foam, about 2 minutes. The butter should sizzle gently but not brown.
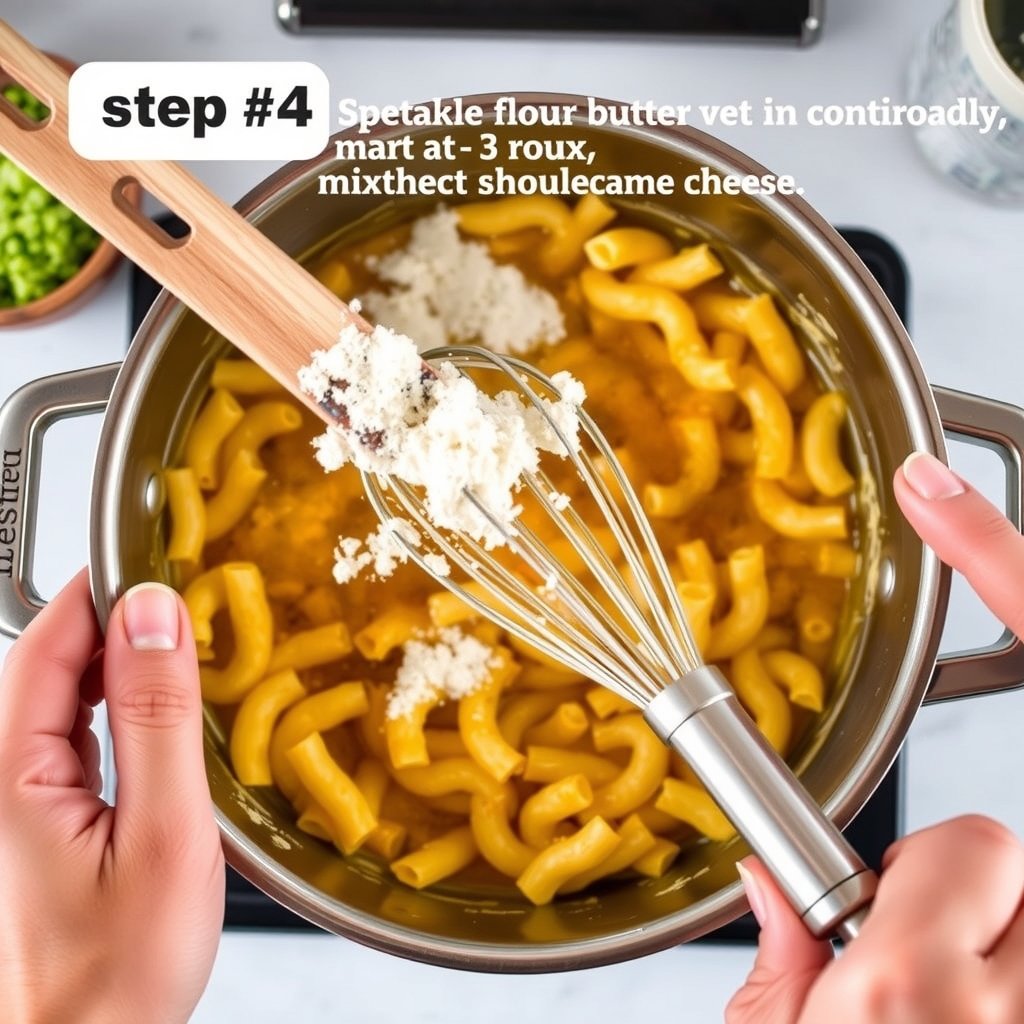
- Sprinkle the flour over the melted butter and whisk continuously for 2-3 minutes to create a roux. The mixture should become smooth and paste-like, with a light golden color and a slightly nutty aroma. This cooking step removes the raw flour taste.
- Gradually pour in the warmed milk and heavy cream while whisking constantly to prevent lumps from forming. Continue whisking for 4-5 minutes until the sauce thickens enough to coat the back of a spoon. The sauce should be smooth and creamy with no flour lumps visible.
- Reduce the heat to low and add the shredded white cheddar and Vermont white cheddar cheese in three batches, stirring after each addition until completely melted. The cheese should melt smoothly into the sauce, creating a glossy, velvety texture. Be patient and don't rush this step or the cheese may become grainy.
- Stir in the Dijon mustard, garlic powder, onion powder, salt, and white pepper until fully incorporated. Taste the sauce and adjust seasoning as needed - it should be rich, creamy, and have a pleasant sharp cheddar flavor with a subtle tang from the mustard.
- Add the drained pasta to the cheese sauce and stir gently but thoroughly until every piece of macaroni is evenly coated with the creamy sauce. The pasta should be luxuriously creamy and the sauce should cling to each elbow. Serve immediately while hot and creamy, as the sauce will thicken as it cools.
Step-by-Step Photos
Customizations & Variations
Gluten-Free Version
Creating a gluten-free version of this panera copycat recipes favorite is entirely possible and still delivers amazing results if you make a couple of smart substitutions. Replace the regular pasta with your favorite gluten-free elbow macaroni—I’ve had great success with brands made from rice or chickpeas, though the chickpea versions add a slightly nutty flavor that some people love. For the roux, swap the all-purpose flour with a gluten-free flour blend that’s designed for baking, or use sweet rice flour (also called mochiko), which creates an incredibly silky sauce. The key is to cook the gluten-free roux a bit longer than you would with regular flour to eliminate any lingering raw taste, and you might need to add slightly more flour to achieve the same thickening power since gluten-free varieties behave a bit differently.
Extra Protein Additions
While this mac and cheese is satisfying on its own, adding protein transforms it into a complete meal that’s even more filling and nutritious. Crispy bacon is my top choice—I cook about six strips until they’re shatteringly crisp, crumble them, and stir them into the finished dish or sprinkle them on top for textural contrast. Rotisserie chicken is another fantastic option that makes this recipe perfect for using up leftovers; just shred or dice the meat and fold it in at the very end so it heats through without overcooking. For a more upscale variation, I’ve added cooked lobster chunks or lump crab meat, which turns this comfort food into something special enough for entertaining, and the sweetness of the seafood pairs beautifully with the sharp white cheddar.
Spicy Kicked-Up Version
If you love heat like I do, there are several ways to add a spicy dimension to this creamy white cheddar mac and cheese without overwhelming the fundamental flavors. Fresh jalapeños, seeded and finely diced, can be sautéed in the butter before you add the flour for the roux, infusing the entire sauce with a gentle heat. For more intense spice, add a teaspoon of cayenne pepper to the sauce along with the other seasonings, or stir in a few tablespoons of your favorite hot sauce at the end. I’ve also made a “buffalo mac and cheese” variation by replacing some of the milk with buffalo wing sauce and topping the finished dish with crumbled blue cheese, which creates an addictive flavor combination that my spice-loving friends request constantly.
Vegetable-Loaded Version
Sneaking vegetables into this indulgent dish is easier than you might think and adds nutrition, color, and interesting textural elements. Roasted broccoli florets are classic for a reason—they add a slight bitterness that balances the rich cheese sauce, and kids often eat them without complaint when they’re coated in creamy cheese. I’ve also stirred in sautéed mushrooms, roasted cherry tomatoes, caramelized onions, and even butternut squash cubes that I’ve roasted until tender. The key is to cook your vegetables separately and fold them in at the end so they maintain their texture and don’t release excess moisture that could make your sauce watery, and make sure they’re well-seasoned on their own so they contribute flavor rather than diluting the overall taste.
Baked Casserole Style
While the stovetop version is wonderfully creamy, baking this panera mac and cheese at home creates an entirely different experience with a golden, crispy top layer that provides textural contrast. After combining your pasta and cheese sauce, transfer everything to a buttered baking dish and top with a mixture of panko breadcrumbs, melted butter, and a bit of extra shredded cheese. Bake at 350 degrees Fahrenheit for about twenty minutes until the top is golden brown and the edges are bubbling, and you’ll have a dish that’s perfect for potlucks or when you want to prepare it slightly ahead of time. The baked version doesn’t have quite the same ultra-creamy consistency as the stovetop original, but the crispy, crunchy topping makes it worth trying at least once, and it holds together better for serving at buffets or family gatherings.
Truffle Oil Luxury Version
For special occasions when you want to elevate this comfort food to something truly extraordinary, a drizzle of truffle oil transforms the entire dish into restaurant-worthy fare. Add just a teaspoon or two of white truffle oil at the very end, stirring it through the finished mac and cheese, and the earthy, luxurious aroma will make everyone think you spent hours on this dish. I like to pair the truffle oil with a combination of white cheddar and Gruyère cheese for even more complexity, and sometimes I’ll top each serving with some crispy fried shallots or chives for a beautiful presentation. This version is perfect for date nights at home or when you’re trying to impress dinner guests with minimal effort, and it proves that this simple recipe has the bones to become something truly special.
Lighter Reduced-Fat Version
While I usually embrace the full-fat glory of this recipe, I understand that sometimes you want to lighten things up a bit without sacrificing too much flavor. You can reduce the calories and fat by using two percent milk instead of whole milk and cutting the heavy cream in half, replacing the other half with additional milk or even chicken stock for more flavor. Reduce the butter slightly and use a combination of reduced-fat sharp cheddar with just a small amount of full-fat cheese for flavor, and you’ll still get a creamy, satisfying result that’s noticeably lighter. I won’t pretend this lighter version tastes exactly the same as the full-fat original, but it’s surprisingly good and lets you enjoy this comfort food more frequently without as much guilt, and the sharp cheddar still provides plenty of that tangy flavor we’re after.
Smoky Gouda Variation
Swapping out some of the white cheddar for smoked Gouda creates a completely different flavor profile that’s deeply savory and complex. I like to use about half sharp white cheddar and half smoked Gouda, which gives you that familiar tangy base with layers of smoky richness that make this taste like it’s been cooked over an open fire. This variation pairs exceptionally well with added bacon or ham, and it’s become my go-to version for fall and winter when I’m craving heartier, more robust flavors. The Gouda melts beautifully and doesn’t require any technique adjustments, so you can follow the exact same method and just swap the cheeses, making this an easy way to create what feels like an entirely new dish.
Individual Serving Portions
When I’m meal prepping or want to control portions more carefully, I make this recipe and divide it into individual serving containers before it cools, which makes weekday lunches incredibly convenient. Use small oven-safe ramekins or bowls, fill each with a portion of the freshly made mac and cheese, and let them cool before covering and refrigerating. When you’re ready to eat, you can reheat individual portions in the microwave or pop a ramekin in the oven, and you’ll have a single serving of creamy, delicious mac and cheese without the temptation to eat the entire batch. This approach also works wonderfully for kids’ lunches, and I’ve even frozen individual portions for up to two months, though you’ll need to add a splash of milk when reheating to restore the creamy consistency.
Seasonal Holiday Version
During the holiday season, I love turning this homemade panera mac and cheese into something more festive by incorporating seasonal ingredients that make it feel special. Adding chunks of leftover holiday ham and some sautéed leeks creates a sophisticated variation that’s perfect for using up Christmas dinner leftovers, and the sweetness of the ham complements the sharp cheese beautifully. For Thanksgiving, I’ve stirred in roasted butternut squash and crispy fried sage leaves, which adds gorgeous fall colors and flavors that feel appropriate for the season. These seasonal variations show how versatile this base recipe truly is, and they’re impressive enough to serve at holiday gatherings as a side dish that will definitely outshine the usual green bean casserole.
Storing & Make-Ahead Tips
Proper storage is crucial for maintaining the quality of your leftover mac and cheese, and I’ve learned through trial and error exactly how to keep it tasting fresh. Transfer any leftovers to an airtight container while the mac and cheese is still slightly warm but not piping hot, as this prevents excess condensation from forming and making the pasta soggy. Stored in the refrigerator, this dish will keep beautifully for three to four days, though I find it’s at its absolute best within the first two days when the pasta hasn’t had as much time to absorb the sauce. Make sure to press a piece of plastic wrap directly onto the surface of the mac and cheese before sealing the container, which prevents a skin from forming on top and keeps everything creamy and appealing.
Reheating mac and cheese properly makes all the difference between a dried-out disappointment and something that tastes nearly as good as when you first made it. The microwave works fine for quick reheating, but always add a splash of milk or cream before heating—about two tablespoons per serving—and stir halfway through to ensure even heating and to reincorporate the sauce. For larger portions, I prefer reheating on the stovetop over medium-low heat, stirring frequently and adding milk gradually until the sauce returns to its original creamy consistency. Never reheat mac and cheese on high heat, as this can cause the cheese to break and become grainy or oily, and always heat it just until warmed through rather than bringing it to a boil, which can overcook the pasta and ruin the texture.
Freezing this white cheddar pasta is possible, though I’ll be honest that the texture changes somewhat and it’s not quite as luxurious after freezing and thawing. If you do want to freeze it, portion it into freezer-safe containers or heavy-duty freezer bags, pressing out as much air as possible, and it will keep for up to two months. Thaw frozen mac and cheese overnight in the refrigerator rather than at room temperature, and expect to add a fair amount of milk during reheating to restore the creamy consistency, as the sauce will have separated and thickened considerably. I’ve found that the baked casserole version actually freezes better than the stovetop version, so if you’re planning to freeze portions, consider making it that way instead.
For make-ahead meal planning, I’ve had the best success preparing the cheese sauce up to two days in advance and storing it separately from the cooked pasta. Keep the sauce in an airtight container in the refrigerator, and cook your pasta fresh when you’re ready to serve. Reheat the sauce gently on the stovetop, adding milk as needed to thin it back to the right consistency, then toss it with the freshly cooked, drained pasta. This method gives you much better results than making the complete dish ahead of time, as the pasta doesn’t have time to absorb all the sauce and become mushy. You’ll know your stored mac and cheese has gone bad if you notice any sour smell, visible mold, or if it’s been in the refrigerator for more than five days, at which point it’s best to discard it rather than risk foodborne illness.
Frequently Asked Questions
How many calories are in a serving of this copycat Panera mac and cheese?
A typical serving of this homemade version contains approximately 450 to 500 calories, depending on your exact portion size and whether you’ve added any extra ingredients like bacon or breadcrumb topping. This is actually fairly comparable to the restaurant version, which clocks in at around 490 calories for a regular serving according to Panera’s published nutritional information. The majority of those calories come from the cheese, butter, and cream that create that signature rich and creamy texture, so if you’re looking to reduce the calorie count, refer to my lighter variation above where I explain how to cut some of the fat without completely sacrificing flavor. Keep in mind that this is a indulgent comfort food dish rather than a light everyday meal, so I think it’s best enjoyed occasionally as a treat rather than trying to make it into something it’s not.
Can I use pre-shredded cheese instead of shredding my own?
While you technically can use pre-shredded cheese in a pinch, I strongly recommend against it if you want results that truly match the restaurant quality you’re aiming for. Pre-shredded cheese is coated with cellulose or potato starch to prevent the shreds from sticking together in the bag, and these anti-caking agents interfere with smooth melting and can leave your sauce with a grainy or gritty texture instead of that silky consistency that makes this dish so special. I know shredding your own cheese adds an extra step and a bit more cleanup, but it only takes about five minutes and the difference in the final result is dramatic enough that I consider it non-negotiable for this recipe. If you absolutely must use pre-shredded cheese because that’s all you have available, expect a slightly different texture and consider adding an extra tablespoon of butter to help compensate for the reduced creaminess.
What makes Panera’s mac and cheese so creamy compared to other versions?
The secret to Panera’s ultra-creamy texture lies in their use of white cheddar combined with the right ratio of milk to cream and the addition of sodium citrate or American cheese, which acts as an emulsifier to keep the sauce smooth and prevent it from breaking. The restaurant version uses a professional-grade cheese sauce that’s designed to hold its creamy consistency even when held at serving temperature for extended periods, which is why it never seems grainy or separated when you order it. In my copycat recipe, I’ve replicated this by including a small amount of American cheese along with the white cheddar, which provides those same emulsifying properties without requiring you to hunt down specialty ingredients like sodium citrate. The other crucial factor is the cooking technique—adding the cheese off heat and stirring it in gradually rather than melting it over direct heat, which is what causes most homemade cheese sauces to become grainy or oily.
How do I prevent my cheese sauce from becoming grainy or separated?
Grainy or separated cheese sauce is usually the result of either using cheese that’s too cold, cooking the sauce over heat that’s too high, or adding the cheese while the sauce is still over direct heat. To prevent this frustrating problem, always let your shredded cheese sit at room temperature for at least fifteen to twenty minutes before using it, and make sure to remove your pot completely from the heat before adding any cheese at all. Add the cheese in small handfuls, stirring each addition until it’s completely melted and incorporated before adding more, and never be tempted to crank up the heat to speed things along. If your sauce does start to look grainy despite your best efforts, you can sometimes save it by whisking in a tablespoon of cold milk or cream, which can help bring the emulsion back together, though prevention is always easier than trying to fix a broken sauce.
Can I make this recipe dairy-free or vegan?
Creating a truly dairy-free or vegan version of this recipe is challenging because so much of the flavor and texture comes from the dairy products, but it’s definitely possible if you’re willing to accept that it will taste different from the original. Use your favorite non-dairy milk like oat or cashew milk, which tend to be creamier than almond milk, and replace the heavy cream with full-fat coconut cream for richness. For the cheese, there are now some excellent vegan cheddar shreds available that melt reasonably well, though they won’t have quite the same tangy sharpness as real aged cheddar. You’ll also need to use vegan butter and add nutritional yeast for extra cheesy flavor, and I recommend including a tablespoon of miso paste to add that umami depth that you’d normally get from the dairy cheese. The result won’t be an exact match for the Panera original, but it can still be a delicious creamy pasta dish in its own right if you approach it as its own thing rather than expecting it to taste identical.
Is homemade mac and cheese healthier than the restaurant version?
Homemade mac and cheese isn’t necessarily healthier in terms of calories or fat content if you’re following my recipe as written, since I’ve designed it to replicate the rich, indulgent experience of the restaurant version. However, making it at home does give you more control over the quality of ingredients, which matters for overall nutrition even if the calorie count is similar. You can choose organic dairy products, use grass-fed butter, select pasta made from whole grains or legumes for more fiber and protein, and control the sodium level by adjusting how much salt you add. You also avoid the preservatives and additives that might be present in commercial restaurant food, and you can see exactly what’s going into your dish rather than wondering about hidden ingredients. If health is a major concern, you can absolutely modify this recipe to be lighter by using the reduced-fat variation I described earlier, but I think the better approach is to view this as an occasional treat that you make at home with quality ingredients rather than trying to turn it into health food.
How far in advance can I make this for a party or potluck?
For the best quality, I recommend making this mac and cheese no more than two to three hours before you plan to serve it, keeping it warm in a slow cooker set to the “warm” setting and stirring it occasionally to prevent the edges from drying out. If you need to prepare it further in advance than that, your best bet is to make the baked casserole version, which holds up better to reheating and can be assembled completely the night before, refrigerated, and then baked just before serving. When transporting mac and cheese to a potluck, I’ve found that a slow cooker is absolutely the best method—make the dish at home, transfer it to your slow cooker while it’s still hot, and set it to warm for transport. Add a little extra milk before you leave to account for thickening during transport, and bring additional milk with you in case you need to thin it out when you arrive. The stovetop version really is at its peak when served immediately after making it, so if timing allows, I always prefer to cook it on-site or as close to serving time as possible.